
How To Change An Ostomy Bag
An ostomy bag is what some people might call a poop bag. There are multiple reasons why someone might have an ostomy, including cancer, serious injuries, and inflammatory bowel diseases like Crohn’s disease or ulcerative colitis. Some people have an ileostomy like me, which is at the ileum (end of the small intestine), and others have a colostomy, which is at the colon (large intestine). Either way, it’s basically a plastic bag glued on your abdomen that needs to get changed every couple of days.
I’ll be honest, changing an ostomy bag is not exactly the most glamorous task in the world, but it’s worth it to have a better quality of life. Yes, it may be a little messy and unpleasant, but it’s an important part of caring for it. Millions of people around the world use ostomy bags, and it’s nothing to be ashamed of. With some practice and planning it gets easier, and there are ways to minimize the grossness.
How often should I change my ostomy bag?
It’s up to you. Every 3-5 days is what’s usually recommended, but some people change it to every other day or less. Manufacturers recommend no longer than 7 days because the quality of the product degrades with use.
You can make it part of your routine, such as in the morning, after showering, or before bed, but if you feel any signs of leakage change ASAP.
How can I tell if I should change my ostomy bag?
If you have a leak, it’s time to change it. There are major leaks where waste comes out of the side, and minor leaks that are just around the stoma. If you feel itching or burning on the skin around your ostomy, then you probably have a leak. If you see waste coming out of the side then you definitely have a leak and should change your bag as soon as you can.
You can also change it if you notice the filter is no longer working. A clogged filter leads to ballooning, which can be annoying. It can get clogged from usage over time, or from water while you shower.
When should I change my ostomy bag?
You can change an ostomy bag any time you want, but there are times when it’s easier to do so. It’s hard to change the pouching system when your stoma is spitting out waste. So to avoid a mess, change it when it’s not active, like in the morning before breakfast.
If you’ve already eaten something and your stoma is spewing stuff out, don’t worry, you can still change your pouching system. To avoid dealing with that, you can eat marshmallows a few minutes before changing. It pauses your output for a bit, don’t ask me why because I just know that it works, and it can make changing way easier. It also allows you to change it whenever you want, plus it’s like a pre-treat.
Here are the steps to change an ostomy bag:
Step 1: Get your supplies ready
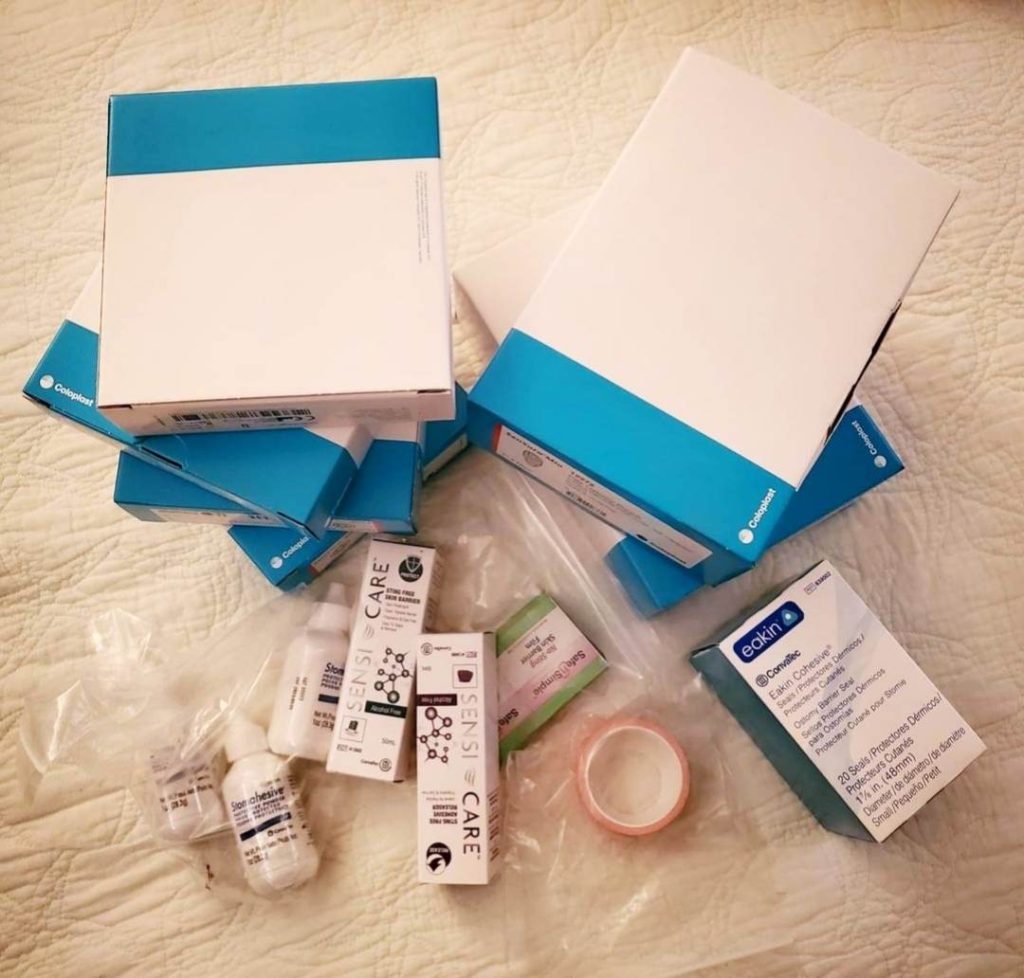
Before you begin, gather all the supplies you need:
- a new ostomy bag
- water
- mild soap
- a mirror
- a skin barrier
- paper towels
- a plastic bag
Optional:
- gloves
- ostomy scissors
- a marker
- adhesive remover
- protective powder
- a barrier ring or barrier paste
- hy tape
- barrier strips
- deodorizer
- an ostomy belt
- shorts
- heating pad
Make sure you have everything set up and within reach so you don’t have to search for anything while changing. Have a plastic bag ready to use for all the trash, and have paper towels ready to wipe off all waste. Cutting or folding them in half can make them easier to handle, and wetting them can help give you a refreshing feeling on your skin.
Step 2: Prepare your clothes
Unless you’re changing your bag while naked, you’ll probably have to move, cover, or change your clothes. You can lift or take off your shirt, or wear a crop top. Whatever bottoms you choose to wear, make sure they’re sitting below your stoma. When you’re ready, partially tuck a paper towel into your waistband to protect your clothes, in case some waste drips down while you’re changing.
Step 3: Wash your hands and/or rock some gloves
After you’ve prepared all your materials and before removing your bag, wash your hands with warm water and mild soap. This helps to prevent the spread of germs and bacteria. If you don’t feel comfortable with changing your pouching system barehanded, you can wear disposable gloves.
Step 4: Remove the old bag
When you’re ready, carefully remove the old ileostomy bag. Adhesive remover wipes or sprays can make it easier, but they are optional because you can also use warm water to loosen them. Gently pull the bag away from your skin, being careful not to damage the stoma, cause pain, or make a mess.
Step 5: Clean the stoma and the skin surrounding it
Using some damp paper towels wipe away all the waste covering your stoma. Once you’ve gotten all the waste wiped off, use warm water and mild soap to clean the skin around the stoma. You can also use a washcloth, just make sure to wash it afterward. Don’t be too rough – think of it as giving your skin a nice spa treatment. If your pouch system partially or fully covers your belly button, wash that too! When you’re done, dry the area thoroughly with a paper towel.
Step 6: Prepare the skin
If you have any open skin around the stoma, for whatever reason, sprinkle some stoma protective powder on it and brush off the excess. Then use a barrier spray, or a barrier wipe, to cover the skin around the stoma. Make sure it completely covers the area. Let it fully air dry, or fan it, before attaching the new bag.
Step 7: Measure the stoma
While you’re waiting you can cut your flange to the size of your stoma. If you save the plastic to have as a reference for next time, use a marker to write the date on it. If you use a barrier ring or barrier paste this is a good time to apply it to the adhesive.
This is not something you have to do every time, but it is good to check it every so often to make sure you’re cutting your flange (the part that gets glued to the skin) to the right size. Using the sizing guide and a mirror, poke your stoma through the holes until you find the right one. Whichever fits snugly around your stoma while exposing no skin, that’s your size.
If you have a round stoma that is always the same size, you can get them pre-cut when you order them. However, if you’re like me and have a weirdly shaped stoma, that’s not a great option. But once you have a shape that consistently works for you, you can use a marker to trace the cutout from the last time you changed it and use ostomy scissors to cut it. Even if it’s the same every time, you should still use a mirror to confirm that it’s correct for your stoma at the moment.
Step 8: Attach the new ileostomy bag
Using a mirror, attach the flange of the new ileostomy bag to your skin. Make sure it fits snugly around the stoma and there are no leaks or gaps. If you have a one-piece system, congratulations you’re done! If you have a 2 piece system, then peel the sticker and place the bag on the ring. Gently press the bag against your skin to ensure it sticks properly.
If your edges don’t stick well, use barrier strips or hy tape over them. This can also help your bag last longer. You can also use an ostomy belt that clips onto the bag to help keep it on. Just be careful about tan lines during swimsuit season!
Step 9: Dispose of the trash
Dispose of any trash you have from the process in the plastic bag you had ready from earlier. When you’re ready, tie it tightly, and throw it out.
Step 10: Wash your hands
Wash your hands again with warm water and mild soap after changing the ileostomy bag. Put away your supplies and you’re all done!
Optional Step 11: Add a deodorizer
There are lubricating deodorizers that help make emptying your bag easier and reduce the odor when emptying. They can come in multiuse bottles, or single-use pouches which are great for traveling.
Optional Step 12: Use a heating pad
If you have trouble getting the adhesive to stick to your skin, or just want some extra assurance, you can use a heating pad. Heat and pressure make adhesives work better. A more fun way to get that is to cuddle with a small fluffy animal, like a dog or cat.
Changing an ostomy bag can seem daunting at first, but with practice and routine, it gets easier. Remember to always consult your healthcare provider if you have any questions or concerns about changing your ostomy bag.
4 Thoughts on “How To Change An Ostomy Bag”
Thanks alot : ) for your post. I would like to comment that the cost of car insurance will vary from one coverage to another, mainly because there are so many different facets which give rise to the overall cost. For example, the make and model of the car or truck will have an enormous bearing on the price. A reliable older family automobile will have a more economical premium than the usual flashy fancy car.
As a Newbie, I am continuously exploring online for articles that can benefit me. Thank you
Great beat ! I wish to apprentice while you amend your site, how could i subscribe for a blog website? The account aided me a acceptable deal. I had been a little bit acquainted of this your broadcast offered bright clear concept
It’s a shame you don’t have a donate button! I’d without a doubt donate to this superb blog! I suppose for now i’ll settle for bookmarking and adding your RSS feed to my Google account. I look forward to new updates and will talk about this site with my Facebook group. Talk soon!