
Suds And Stomas: How To Shower With An Ostomy
How do you shower with an ostomy bag?? It seems complicated, but looks can be deceiving. It’s totally safe to shower with, and while it takes a few more steps to prepare, it’s nothing you can’t handle and won’t take long to do.
Most people don’t know that the bag is glued, disposable, and replaced every few days. It’s just fabric covering plastic that’s glued on your skin. It can get wet as much as you want, and you can even swim with an ostomy! Although it can get wet, there is some preparation that needs to be done beforehand to prevent leaks and make the experience better.
1. Pre-shower prep
It’s always a good idea to empty and fold an ostomy bag before showering to avoid any discomfort. The weight of a full bag can pull on your skin, and the corners can scratch you if left to hang. Also, don’t forget to cover the filter with a sticker that comes with the bag to prevent clogging and reduce ballooning later.
If you notice any lifted edges, don’t worry, just use some hy tape or barrier strips over them to avoid the water lifting them further. If your pouching system partially covers your belly button and you can’t dry it well afterward, you can use the same things to fully cover your belly button to avoid water getting in there and causing it to smell. Just make sure you clean it later when changing your bag!
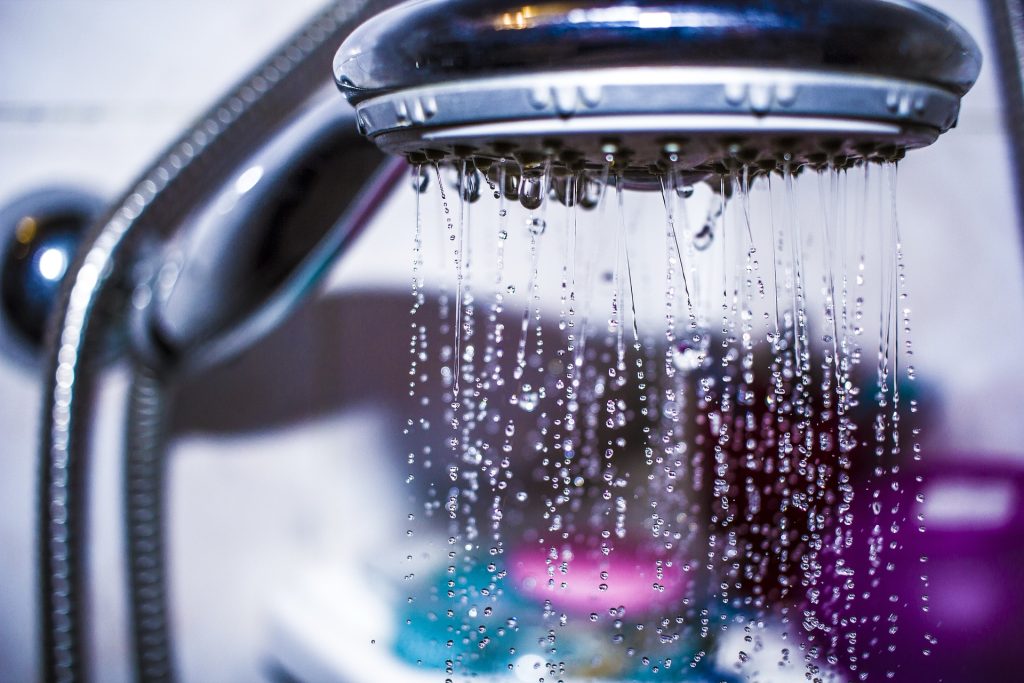
2. Shower time~*
For the most part, the shower itself doesn’t have many changes, but you do need to keep some things in mind. Using water that is too hot can cause skin irritation or dryness, and can cause the adhesive to fail and lead to leaks. A mild soap or body wash is also recommended to avoid skin irritation, but that applies to a lot of people in general.
It might take trial and error to find the ideal temperature for you that won’t irritate your skin or cause leaks while still feeling comfortable. I love hot showers so I’ve had both problems, but they’re manageable and have solutions. I mostly notice skin irritation where the adhesive gets removed, but it goes away a few minutes after being out of the shower. Even if it unglues significantly and I get a leak, the solution is just to change the pouching system, which I usually do after showers anyways.
3. Drying off
This part can be a bit tricky due to the fabric cover on the bag, but there are a couple of ways to dry it. Patting it dry with a towel is a great start, but it will still be damp. Some people use a hairdryer to speed up the process, while others like myself just let it air dry. If you let it air dry and aren’t comfortable walking around with your bag showing, you can throw on a loose shirt to cover it up while it dries.
I have a pair of shorts specifically for after I shower because it sits below my bag. Admittedly there have been times when I’ve been in a hurry to get out the door and just put clothes over my damp bag, but it feels weird. It still dries off, just more slowly, and also makes my pants and underwear have to dry a bit too, so I don’t recommend doing it in the winter.
4. Changing the bag
While you can change your bag at any time, I’ve found that the best time is right after a shower because it helps me feel extra clean. It’s also great because I won’t have to worry about a clogged filter or ballooning. This is also where my post-shower shorts come in handy because they sit below my bag, which makes it easier and more comfortable.
Planning ahead of time to do this also makes showering less stressful. If it’s coming off anyways you don’t have to worry about the unglued edges or wet belly buttons. This is also great if you don’t want to deal with a damp fabric cover.
5. Optional: Decorations
Ostomy bags don’t have to look sad or boring. They’re just plastic with a fabric cover and with some markers or crayons, you can have a decorated bag that’s fun and looks great. While you can use permanent markers, like Sharpies, they’re not great for this use because they wash away in the shower and can stain your clothes. Fabric markers don’t have those issues as long as you dry them properly before use
If you don’t have fabric markers, crayons are a good alternative that surprisingly works well, are affordable, won’t wash away, and so far I haven’t had any stains on my clothes. The only issue with crayons is you need to apply more pressure to get bright colors, which can be difficult if you have joint pain in your hands. If you end up drawing something you really love and don’t want to throw away, you can pull the fabric cover off when you change to a new one!
Overall showering with an ostomy is not very difficult and is totally doable! It might take time to get used to and to make a routine that feels best for you, but it’s nothing to be scared of. The worst that can happen is you have to change your bag sooner than you planned.